

Hey guys! I'm teaming up with Jennifer from A Dab of Glue Will Do and Sara
from Sara J Creations for this month's
Winner Wednesday link up.
What's Winner Wednesday, you ask? It's a monthly link up
where you can have a chance to win some amazing products and resources!
All you have to do is hop along through each of the blogs participating
in this month's link up and enter for your chance to win.
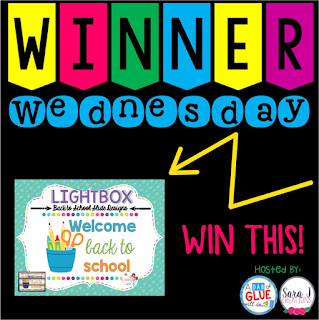

This month, it's all about lightboxes! If you've been on
social media at all this summer, then you know that these Heidi Swapp Lightboxes are all the rage! So much so, in
fact, that I don't even think I was on summer break for a week before I bought
mine! Talk about peer pressure...

So, yes I jumped on the lightbox bandwagon, but now what?
Well, now I needed lots of pretty little things to put in to my lightbox. And while Heidi
Swapp offers lots of adorable accessories for her lightbox, I'm a firm believer
in making things myself if I can. Don't get me wrong, I have no problem
spending a buck or two if it's worth it, but if I know that I can do it myself,
I always give it a shot. And so... I did.
There were some other amazing TpT sellers offering lightbox
products and then I came across a how-to tutorial from Lori over at Live, Laugh, Love Second. So with
the guidance of her tutorial, I went ahead and started creating.
It started off small, at first, but you know when you've got an
idea in your mind and you get the ball rolling and next thing you know you've
got over 100 slides? Yeah, that's what happened to me...


This adorable
set is perfect for Back to School to welcome your kiddos back in style!
And you can have your chance to win it here for FREE! That's right, free!


Now, you will need a few things in order to print out the slides.
You'll need either transparency sheets (you know, like the kind that we
used to use on the old overhead projectors) or printable vellum. I've
used both and they both work just fine. The only thing I will say is that
the transparency sheets can be a little expensive and the
printable vellum was a little more affordable. But, for overall printing
purposes and functionality, they both worked the same (in my opinion). I
was fortunate enough to get some transparency sheets from a friend and I bought
the vellum sheets from Office Depot.
**Note: Before you purchase either of these types
of paper, please make sure they are compatible with your printer.**

I
also recommend using a paper trimmer when you're ready to cut out
your slides, to ensure straighter edges. I left some light gray
guidelines on the pictures to help you with your cutting.

This Back to School Lightbox Design Set includes:
- Specific printing & cutting directions
(Please read carefully!)
- 11 different Back to School designs:
- Welcome Back to School (Generic)
- Welcome to ____ (all grades from
Pre-School to 5th Grade)
- Back to School 2016 (Colorful Background
Design)
- Back to School 2016 (Plain Background
Design)
Ready to find out how you can win your free copy? All you have to
do is enter your name in to the rafflecopter below. The winner will be emailed
on Thursday morning. Be sure to visit the other blogs that are participating in
Winner Wednesday this month for your chance to score some more freebies!
So there you have it, folks! I hope you've enjoyed this
month's edition of Winner Wednesday.
Here are some other Lightbox Design Sets you
might like:
Thanks for stopping by!